OllieLeaf
Best use of 3D printing: DIY versions of existing products you can’t afford. In this case, I created the “OllieLeaf” inspired by the mind-bending prices of the nanoleaf LED panels.
Summary
- COST: $75 CAD
- WS2812B RGB LED - 5 meters: $34
- LED Controller or ESP32: $5-10
- PLA Filament - White: $30
- DC Power Adapter (5-28V, 2-5A): “Permenantly borrow” your best friends laptop charger ;)
- TIME TO COMPLETE: 5 days
Overview
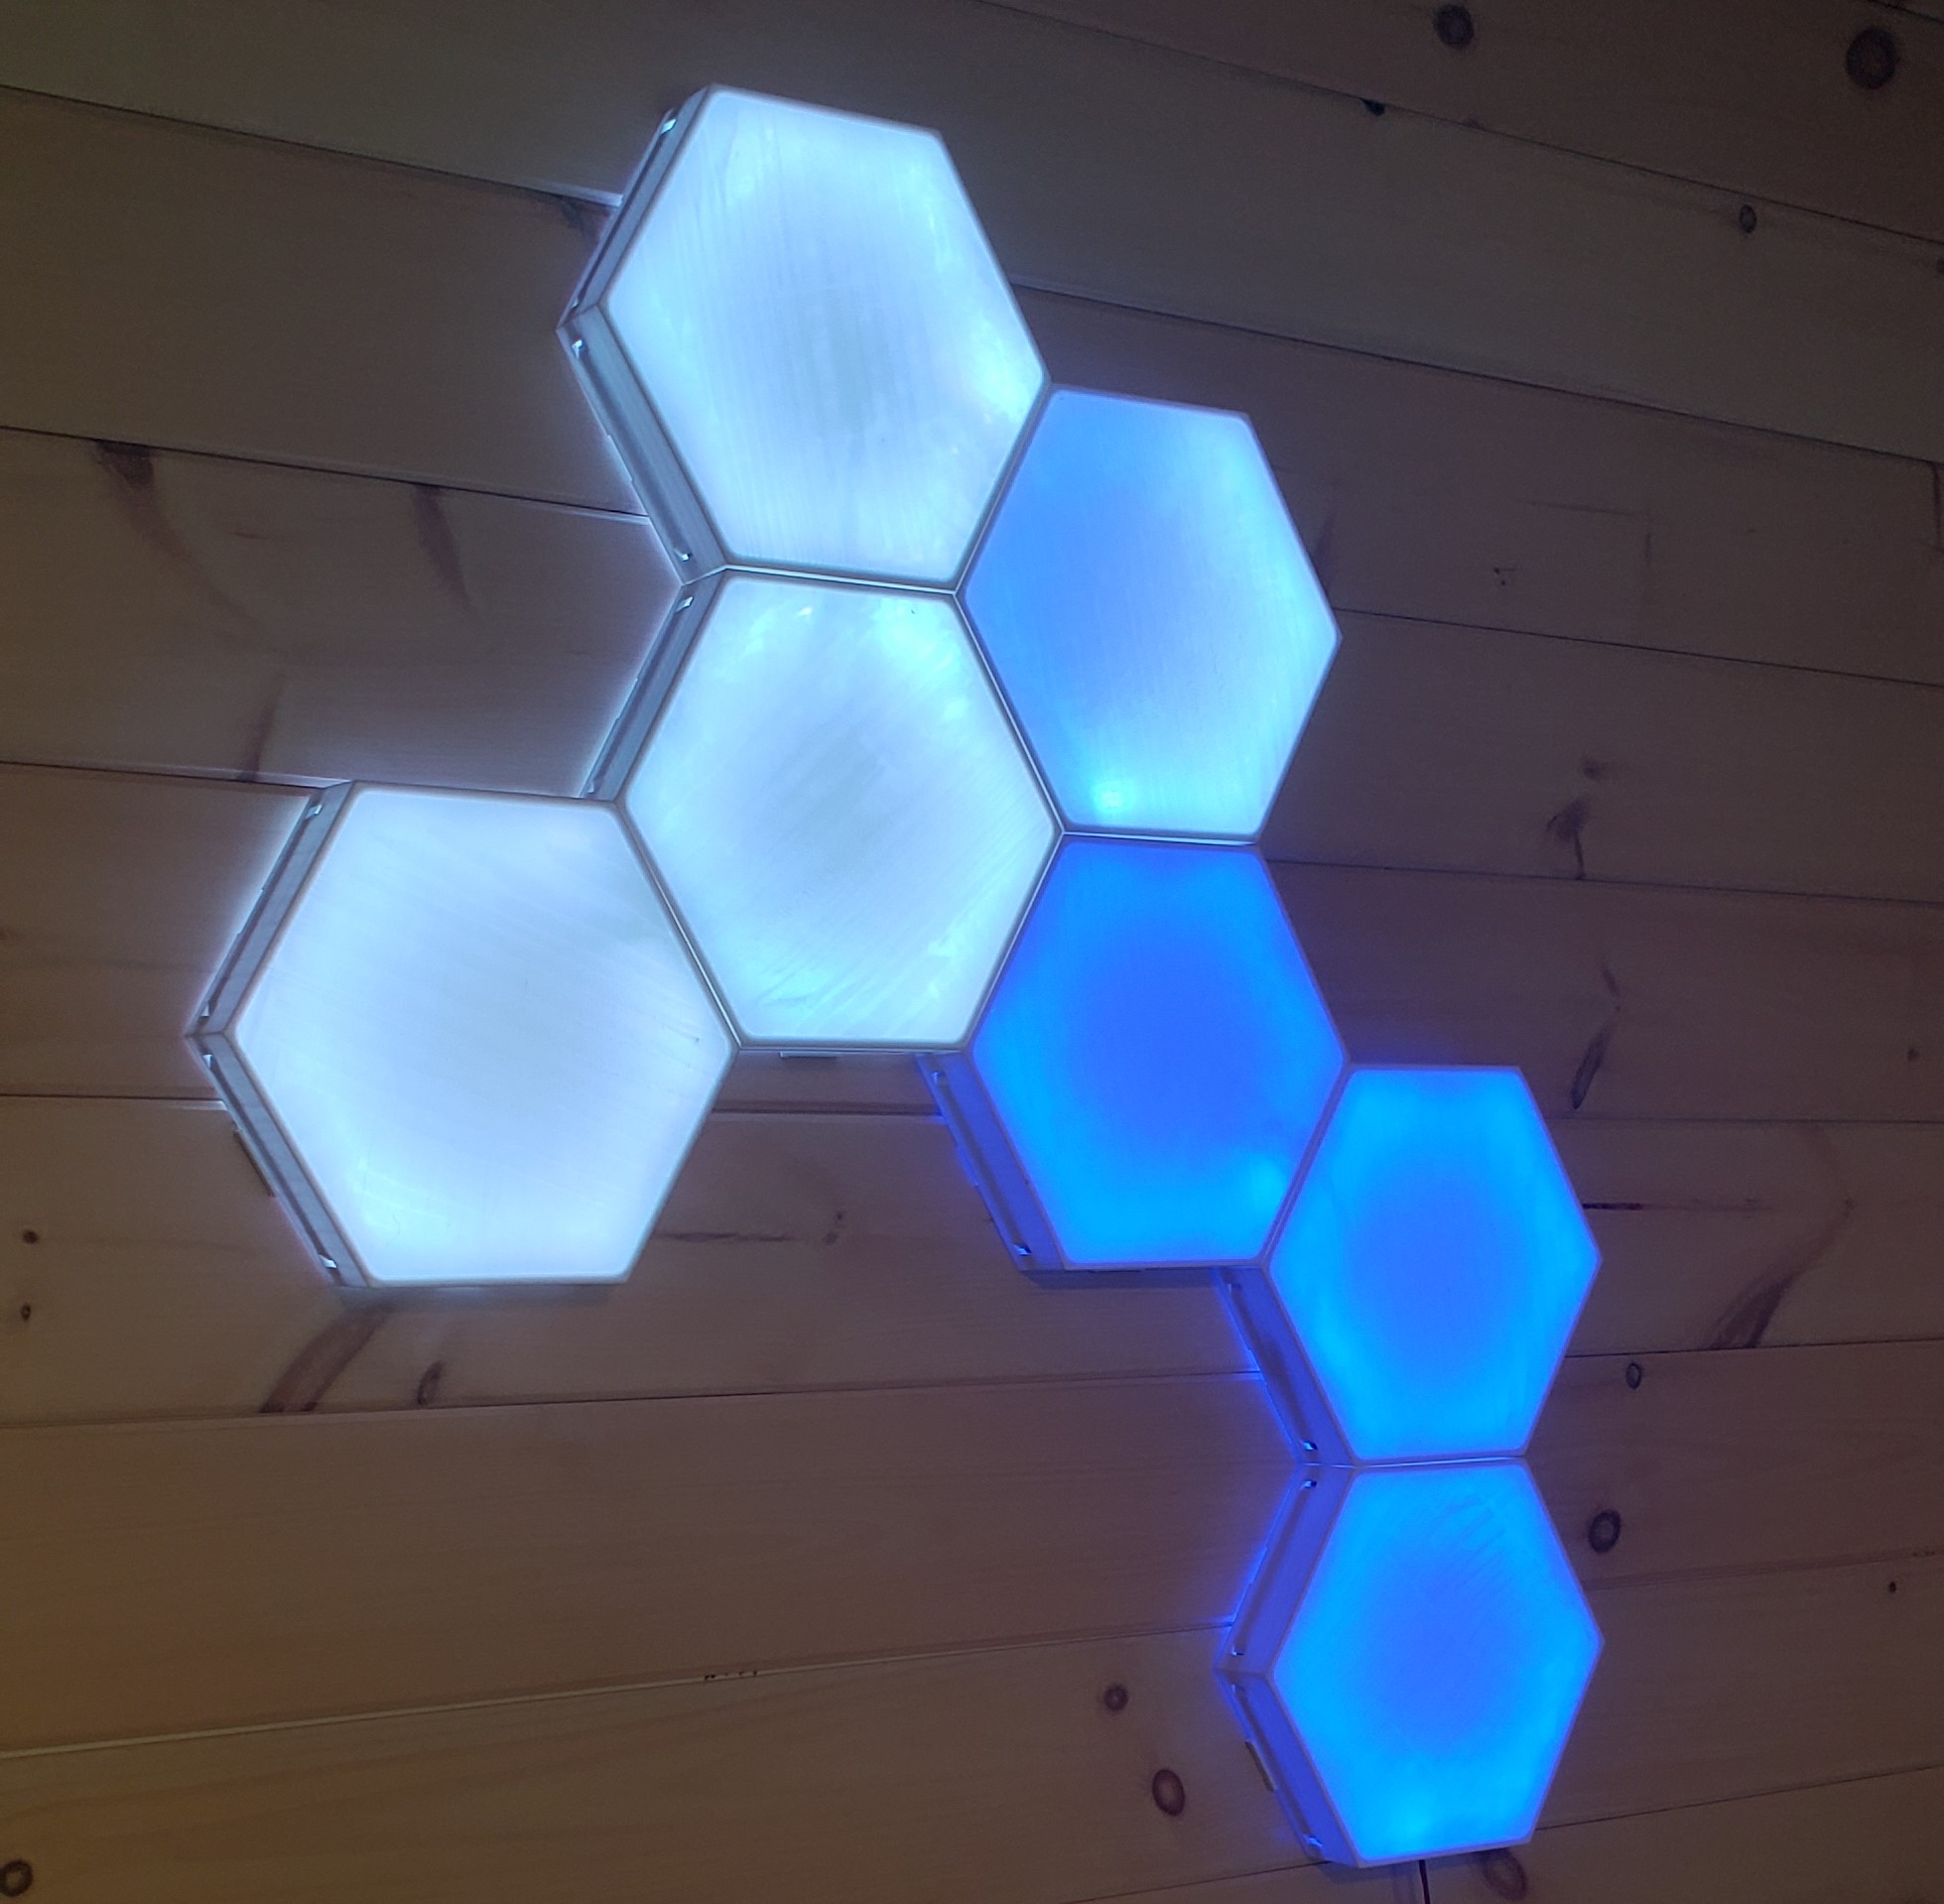
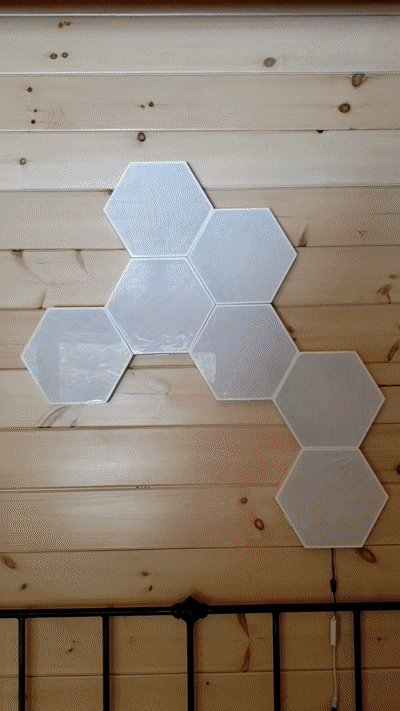 Showing the ‘Slow Ripple’ color changing pattern
This project is the perfect introduction to 3D printing, soldering, and basic microcontroller programming. Many DIY color-changing LED panel solutions exist online for inspiration and guidance. I decided to have a go at designing my own as I wanted a really seamless gap between the panels unlike many I could find online.
The three biggest tips I would have for anyone designing their own would be:
Plan out the pattern: Anything from rough drawing to CAD model and STICK with it after deciding. This will allow you to properly link the LED strips inside so the color patterns flow nicely through all the tiles.
Choose a >4000K White PLA Filament: I made the mistake of choosing a white filament labeled “Ivory” at first and it makes the tiles look old and all colors yellowed.
Print the Tiles on a Mirror or Glass Plate: I bought some 30x30cm Ikea mirrors for dirt cheap and taped them to the print bed for printing. It requires lots of first layers and Z-height adjustment but gives the tile a lovely glossy finish on the outside. You can vary the light diffusion by printing multiple layers on the front of the tile but I stuck with one 0.3mm layer.
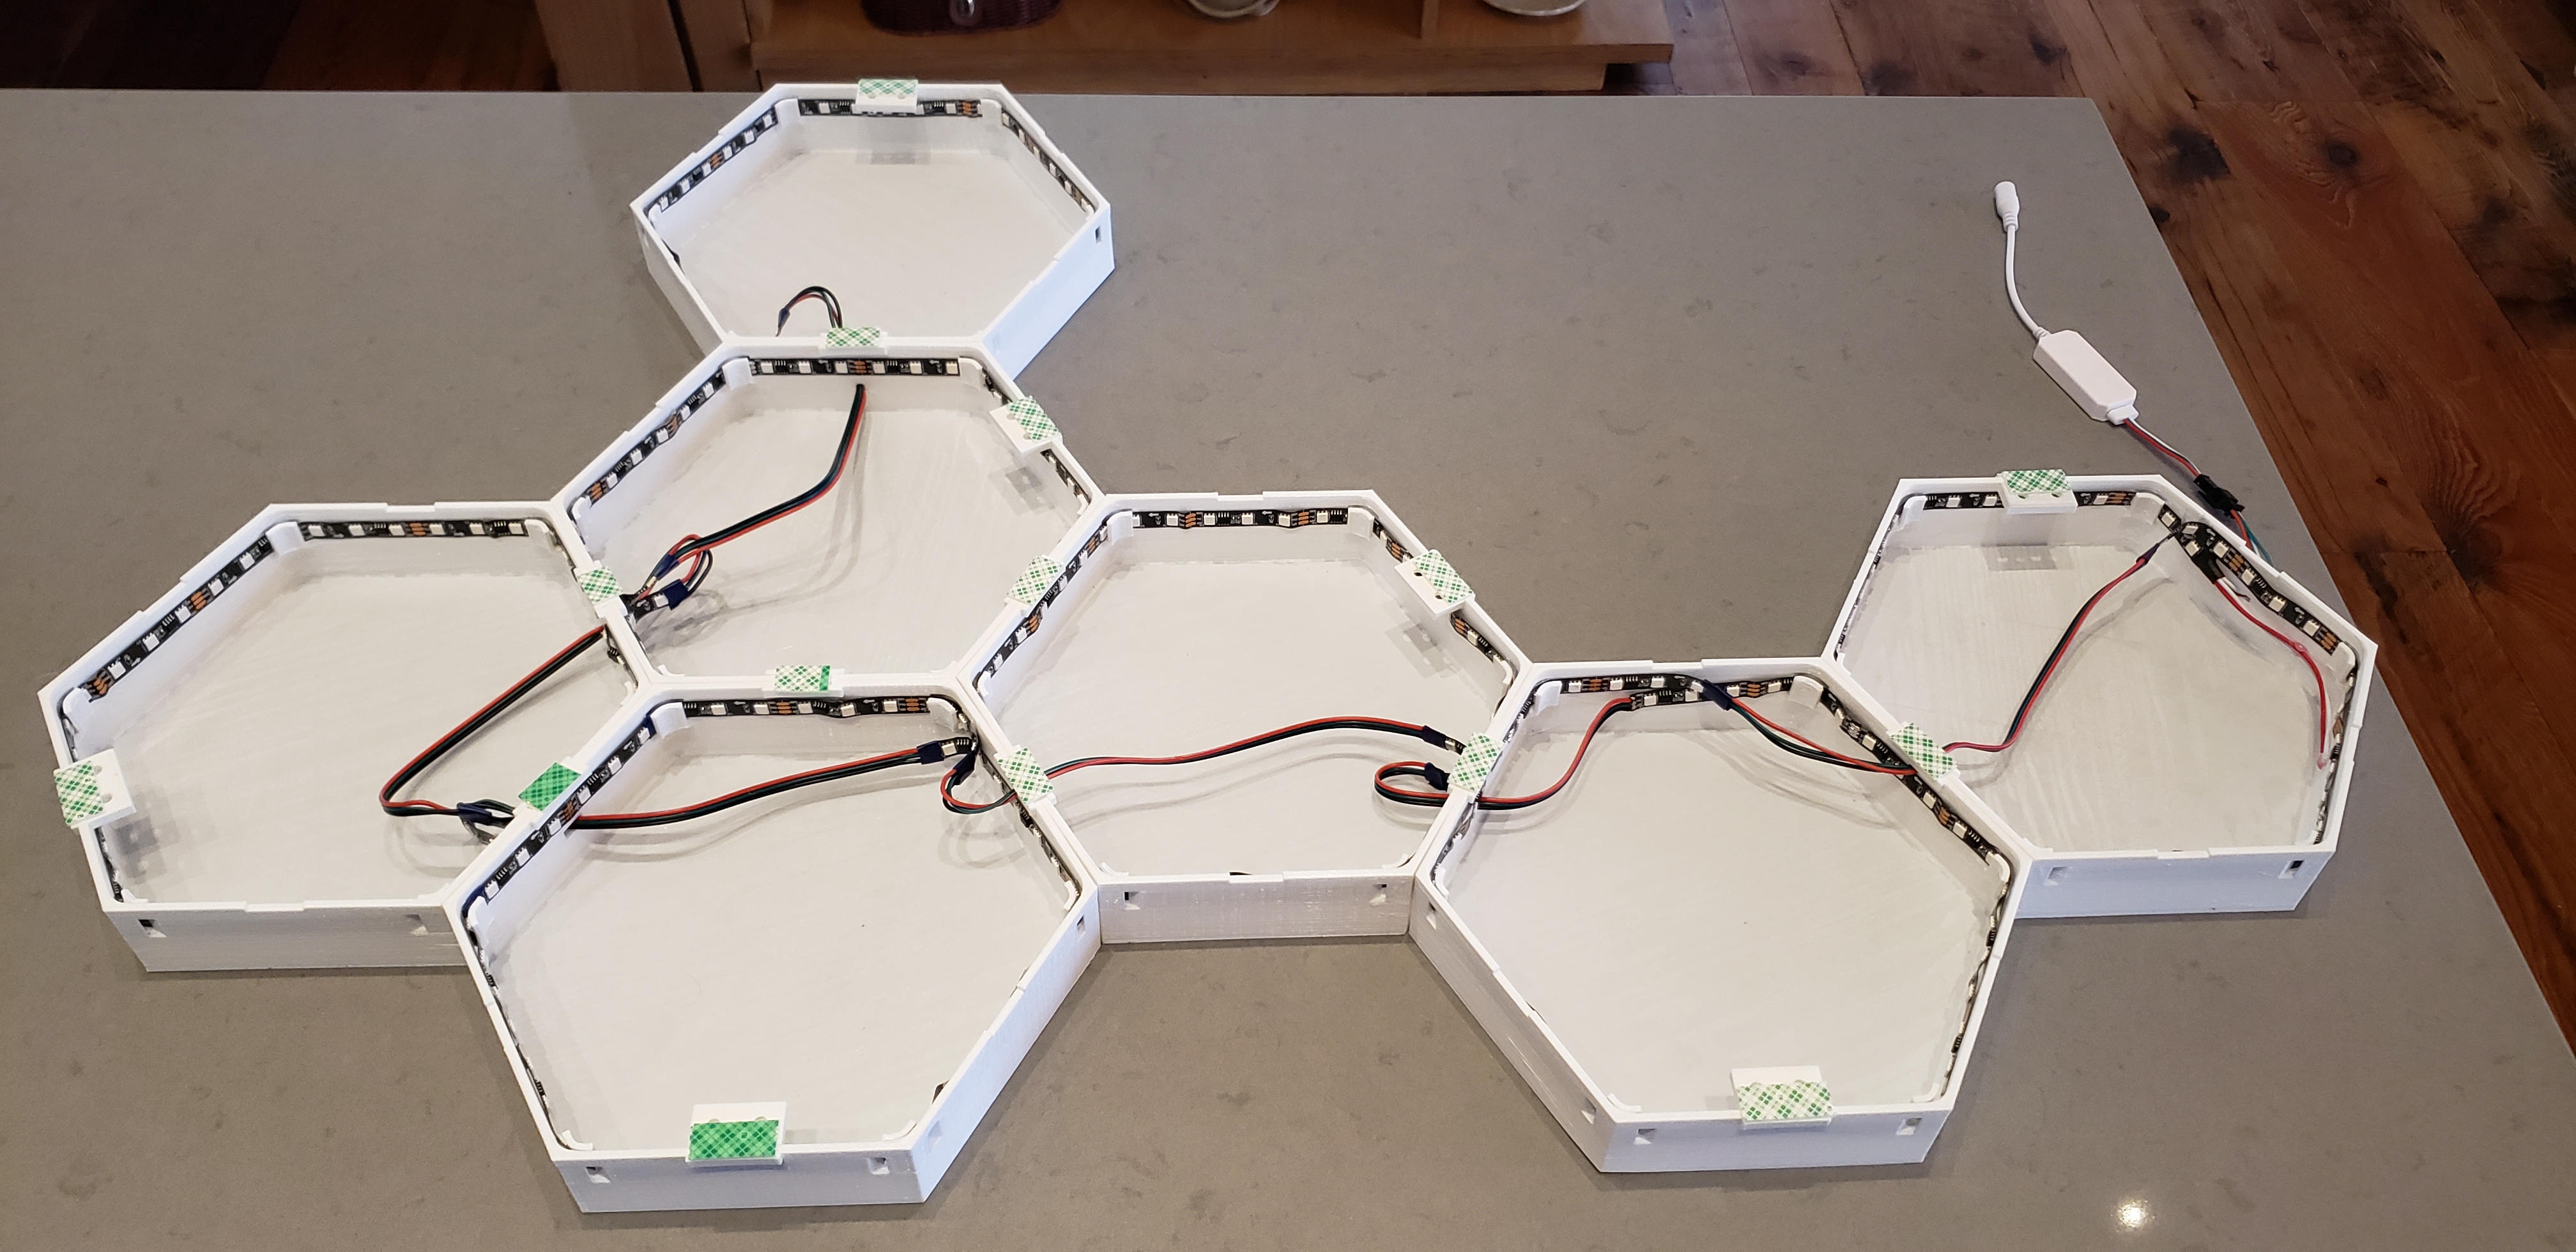 Backside of OllieLeaf showing mounted LED strips, connecting wires and double side tape mounts.
People really love this product - have sold 3 units to friends and family! Change up the shapes (i.e.: Molecular structure for Serotonin is a popular choice) and fire up that 3D printer to make a little cash.