800W CNC Machine
COVID-19 Project to expand my tool chest and learn a TON about mechanical and electrical integration.
Summary
- COST: ~ $1500 CAD
- Financing: Personal :(
- TIME TO COMPLETE: ~ 3 Months (~ 200 working hours)
- Ideation: 15 hours
- Design: 30 hours
- Mechanical Build: 15 hours
- Electrical Build: 45 hours
- Software Build: 10 hours
- Integration Hell: 70 hours
- Testing: 15 hours
Introduction
Tools are like the pathway from my brain to the real world - Stuff Made Here
Probably the best description of the Mechanical Engineers conundrum is that you move through life wanting just
“
This was no different for me in late 2020 as it had been about 1.5 years since I had been completely enthralled by my first 3D printer purchase (Tevo Tornado). I had been on a non-stop printing rampage downloading and designing trinkets to my heart’s content. Soon, however, we hit the limitation of that technology as 3D printing is always the best manufacturing method unless you need high strength or large size which my projects trended towards.
I had always wanted to start incorporating one of the GOAT materials Aluminum into my projects due to its high strength/weight ratio, oxidation resistance, and low cost. Most Universities have machine shops you can access, however, this was at the height of the COVID-19 pandemic which ruled that option out. This left me no choice but to begin work on the best, low-cost CNC machine I could design to move me from the world of polymers to metals.
Build
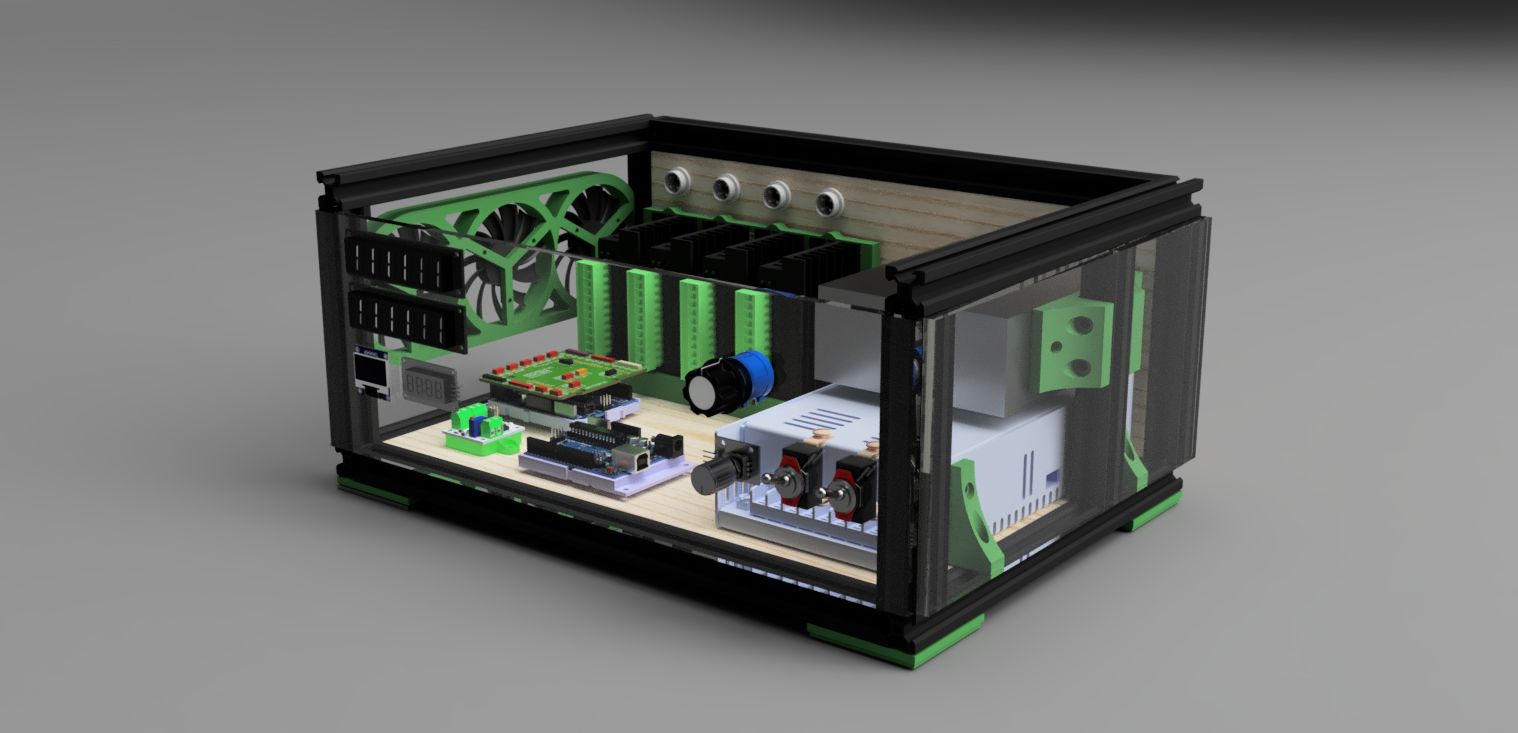
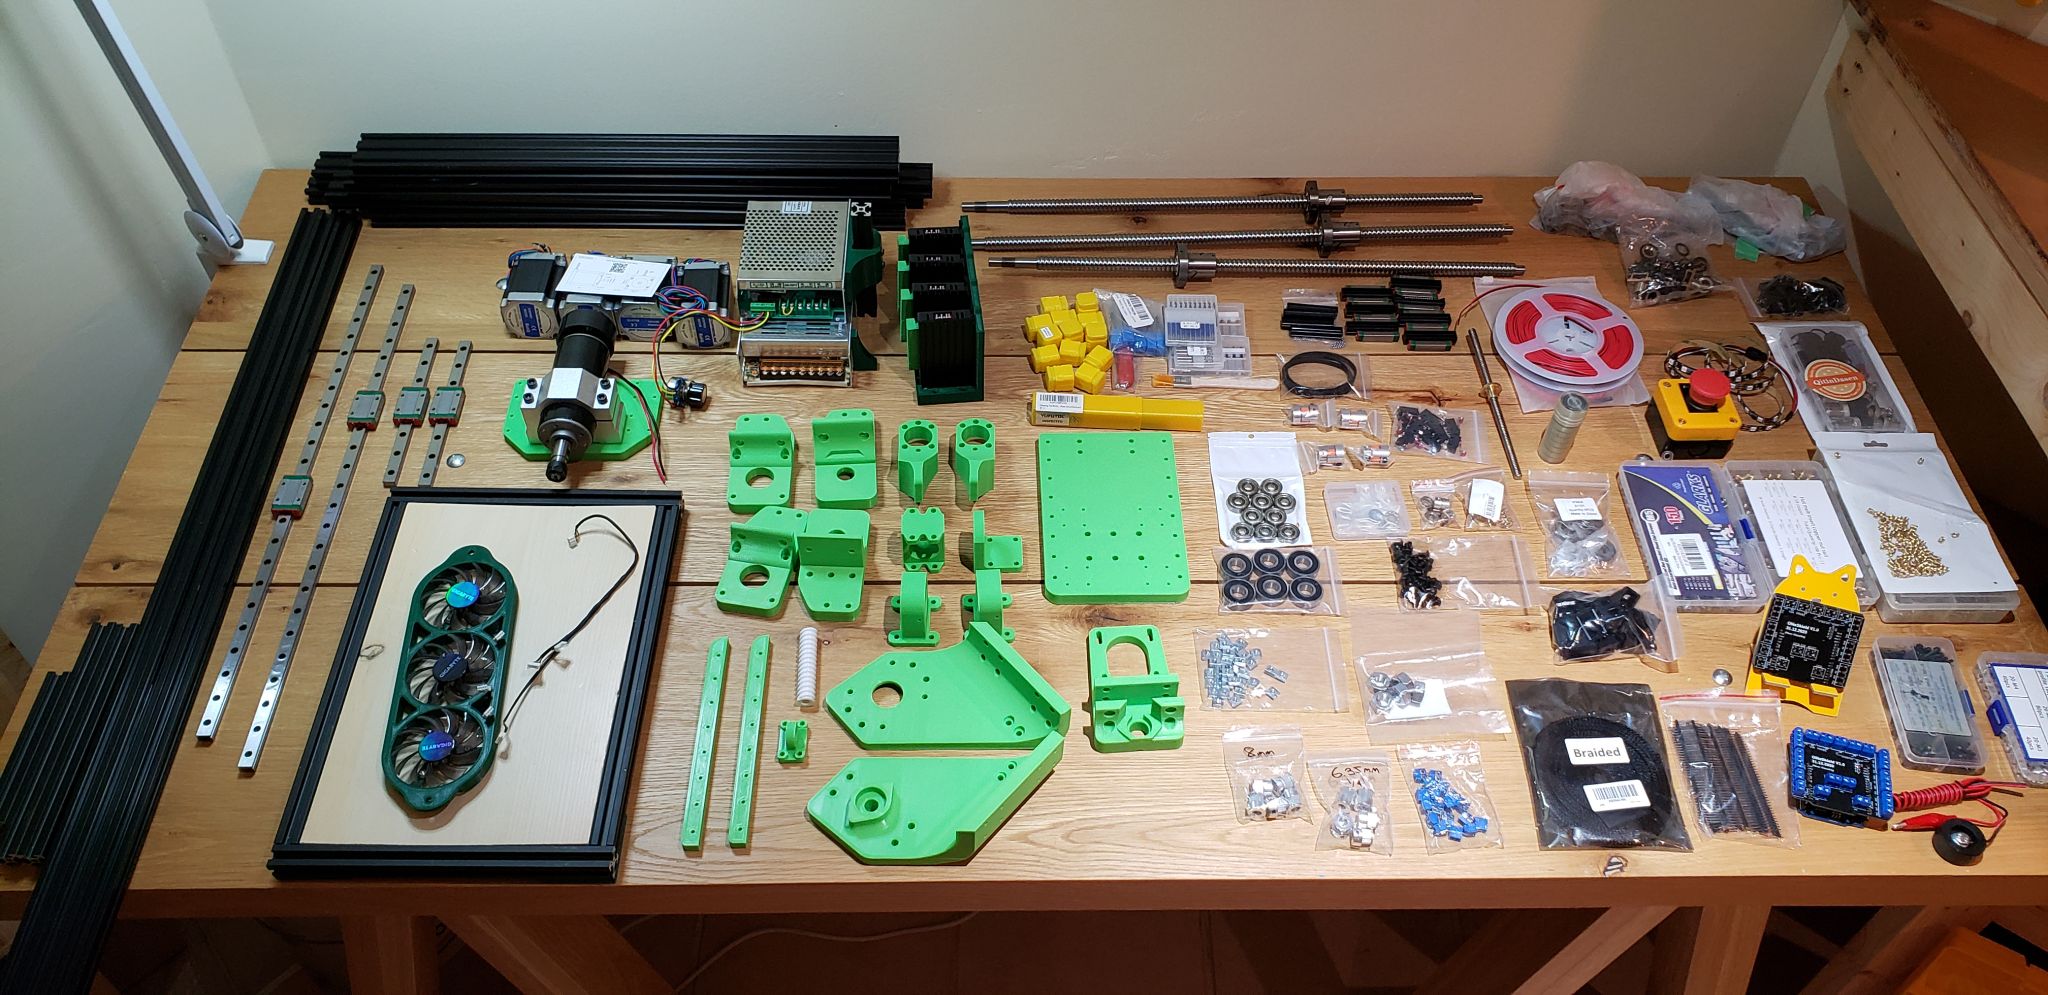 Overview of all parts for initial Jan 2020 build
Mechanical
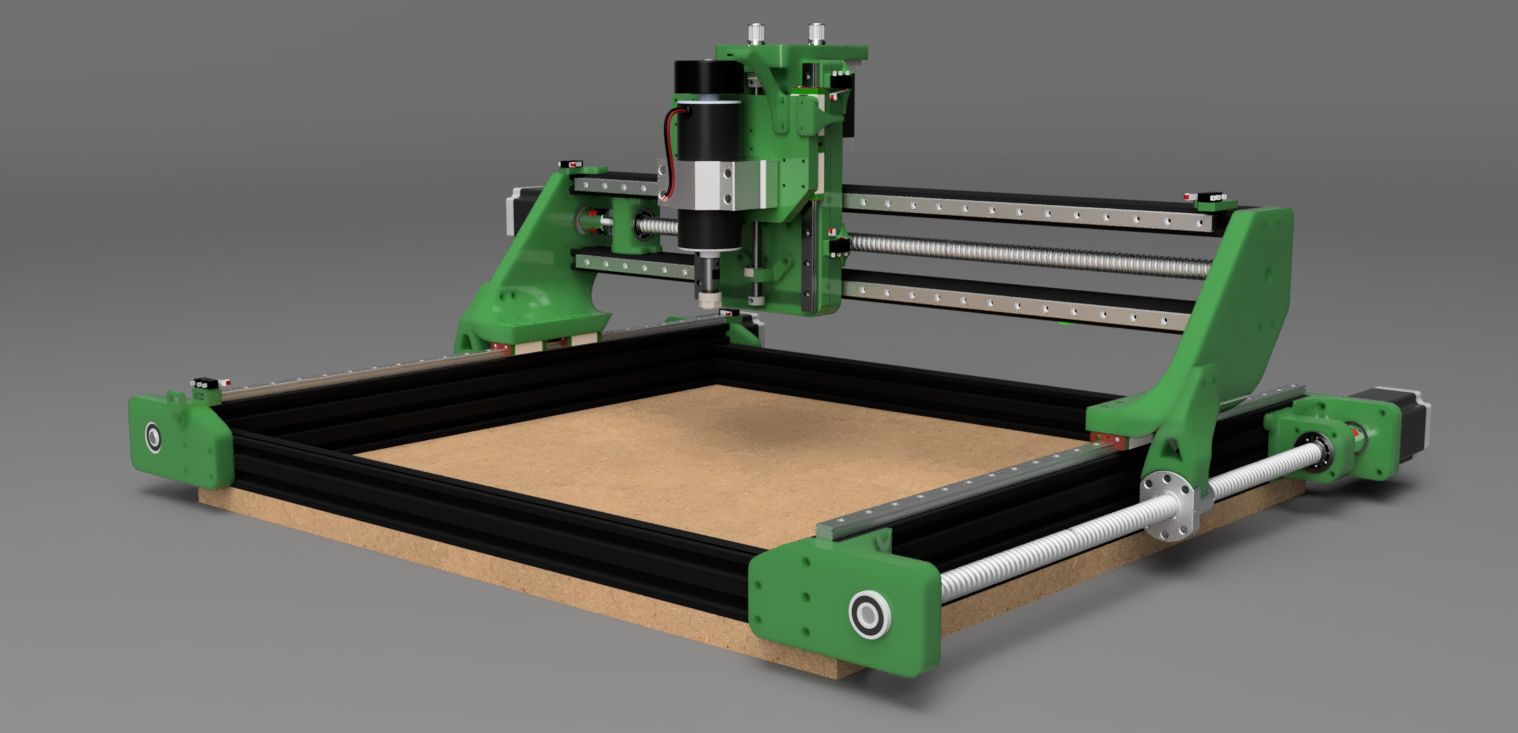
Constraints were limited starting this project with the most prominent one being that of all self-funded projects: cost. The goal was to have it cost less than $1500 CAD (Final cost: $1382) as this allowed an increase in rigidity and quality over that of existing builds such as MPCNC made from aluminum conduit. Additionally, the build volume should be greater than 500x500x250mm and it should allow me to machine soft metals (Aluminum, Brass…etc).
Ultimately, this tight budget resulted in me 3D printing some of the mounting brackets for the stepper motors and the X-Y axis braces. Rigidity is the name of the game in machining and despite using 10+ walls and carefully selecting geometry to maximize resistance to bending moments aluminum is still 10-14x stiffer than PLA plastic. However, the great thing about this project is that I could use the machine to upgrade the machine after it was functional!
Future upgrades are in the works to waterjet 3/8” to 1/2” steel plates to replace all 3D printed brackets.
Sourcing all the parts took around 2 weeks with the majority of them coming from Aliexpress, Amazon, Spool3D, Digikey, and 3D Printing Canada.
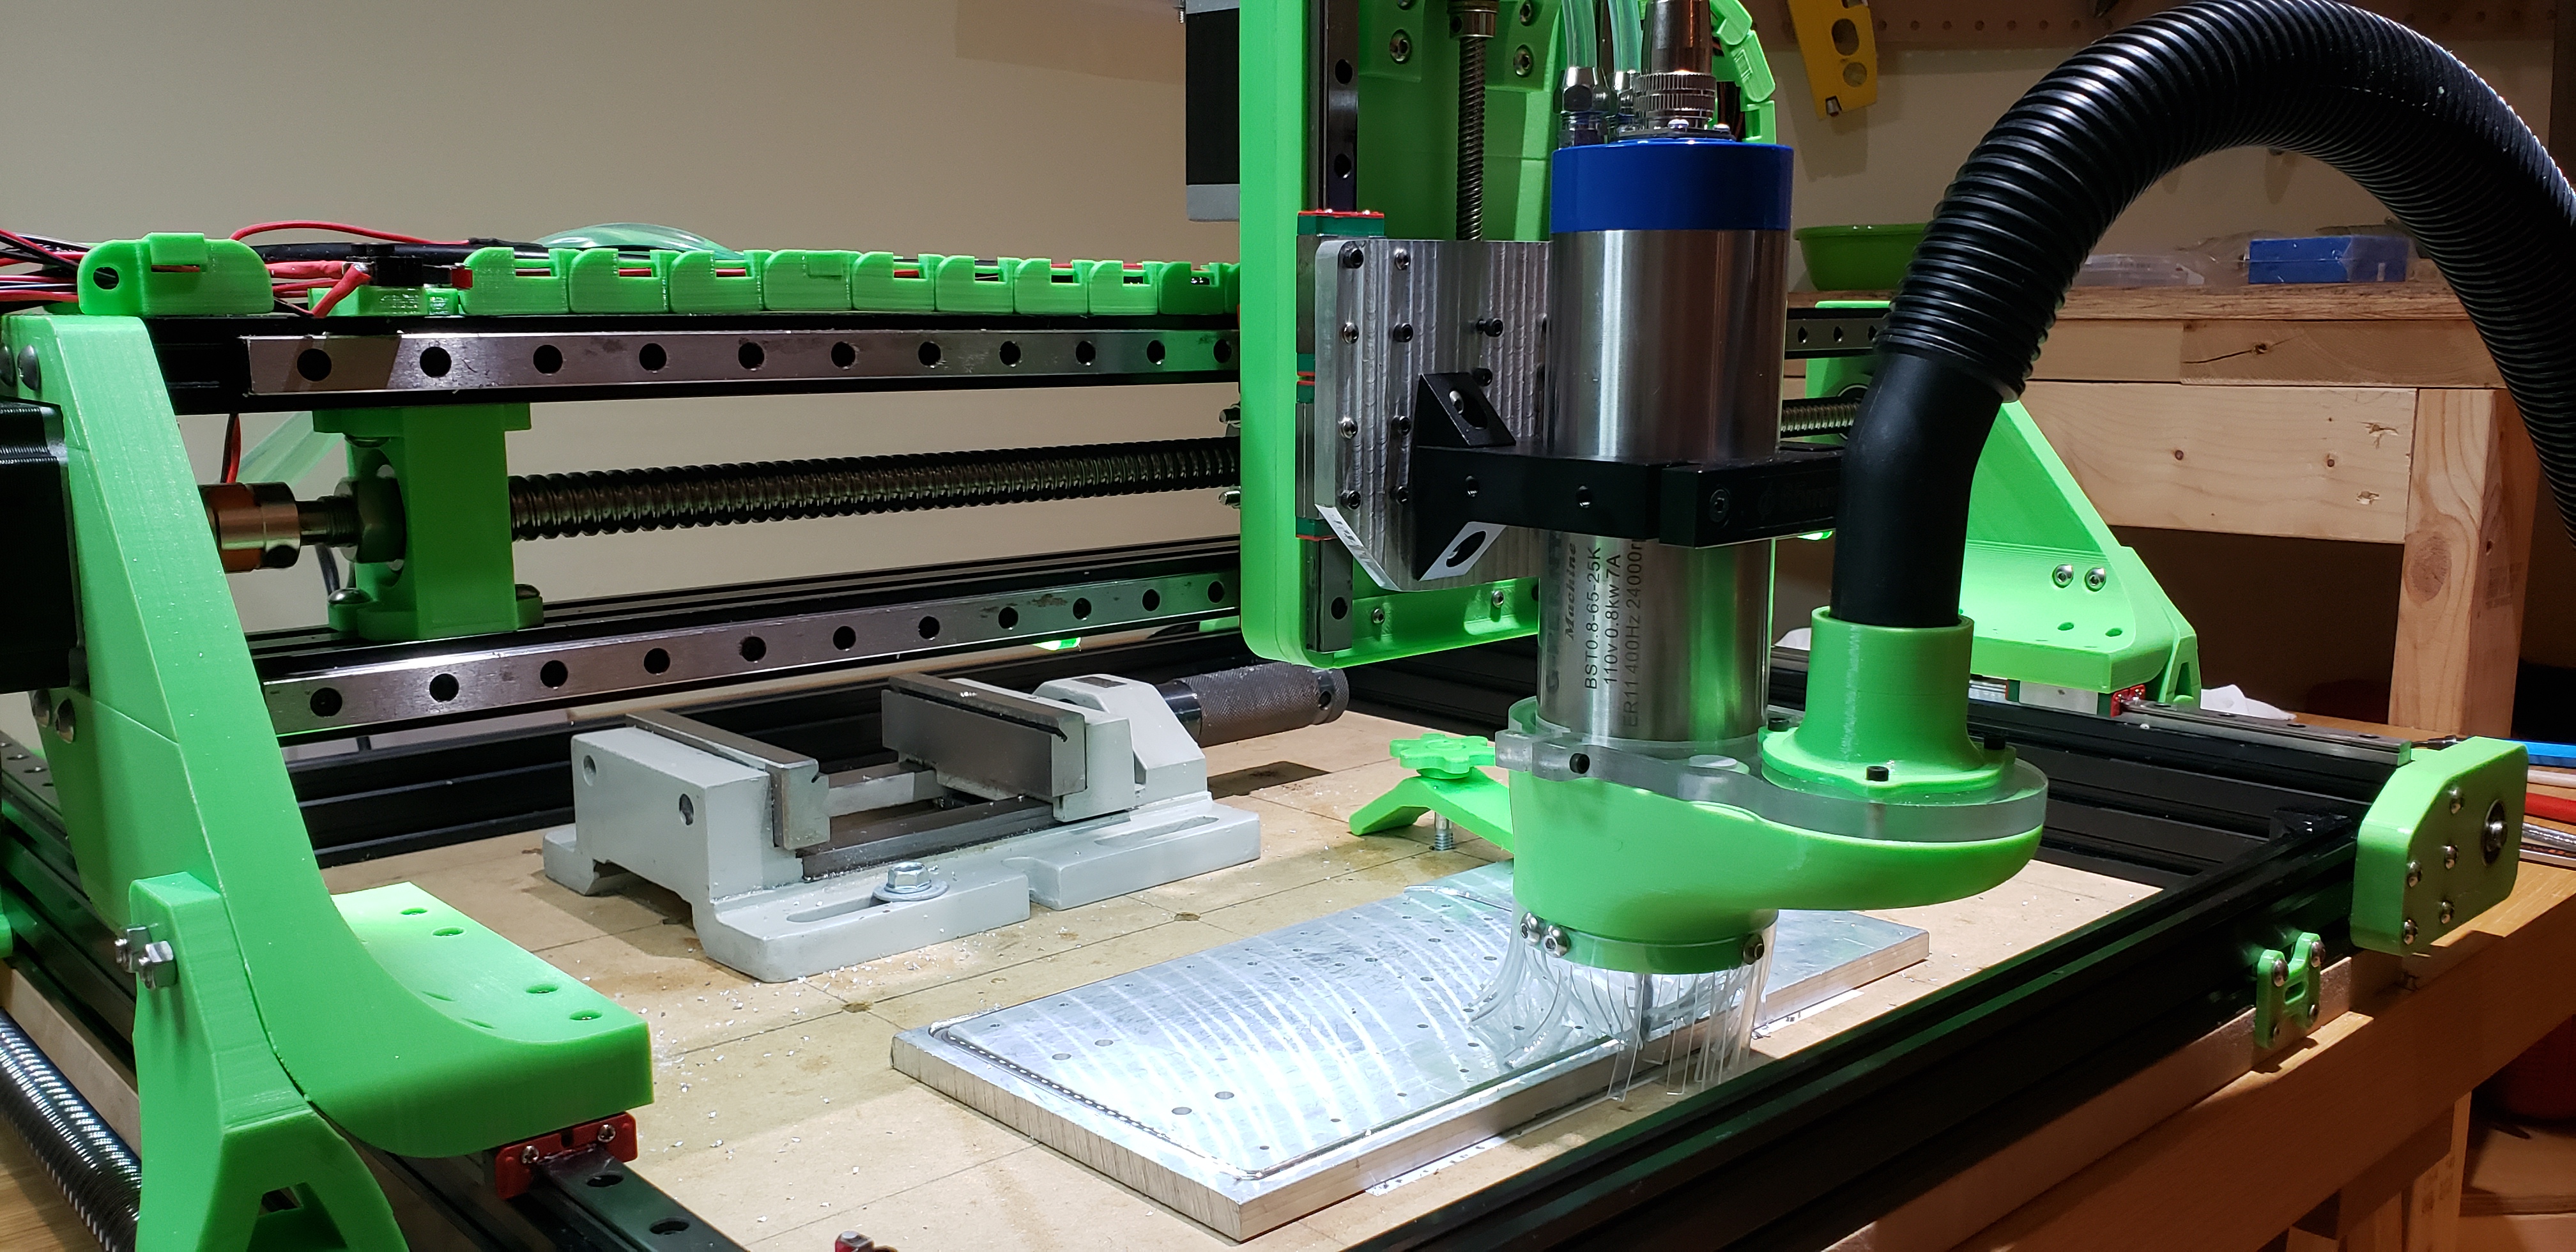 The CNC machining an upgraded Z-axis plate out of aluminum to replace the existing one. Robots upgrading itself feels very Future 2.0
Electrical
An enormous amount of frustration, learning, and fist-pumping moments of glee surrounded the electrical build of this project. Thankfully the wonderful people at CNCzone and /r/hobbycnc were very helpful at providing guidance on best practice for component selection, E-Stop wiring, limit switch debugging and everything in between.
Lots of skills around best practices on HOW to approach electrical problems were learned with proper root cause analysis and using tools such as a multimeter and oscilloscope to identify the source of the problem.
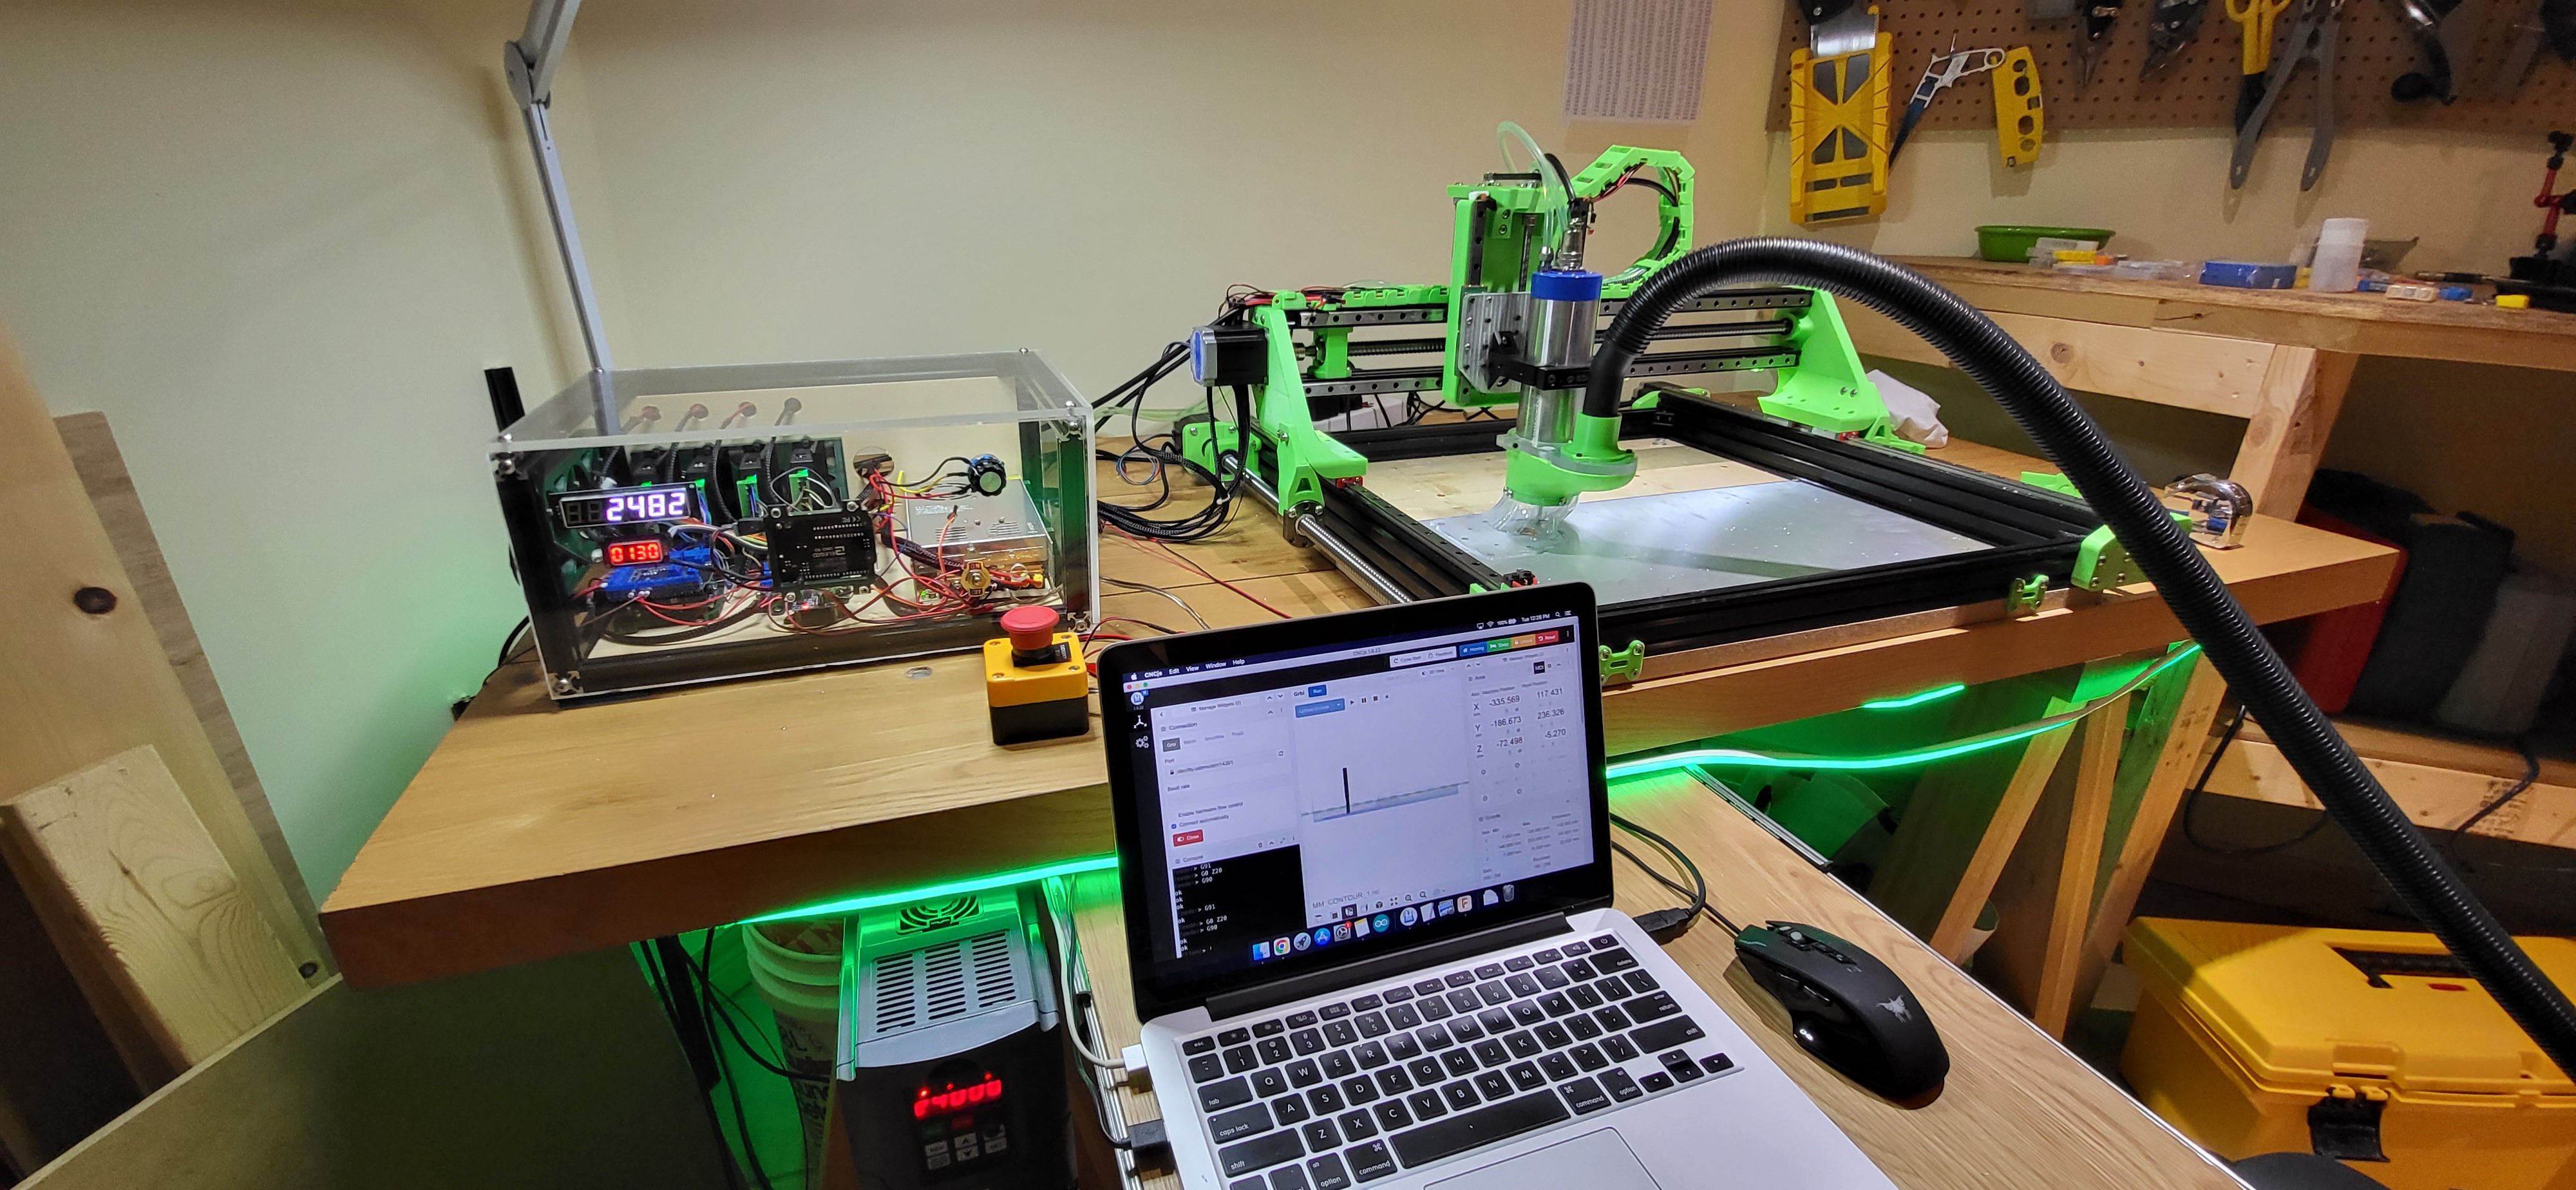
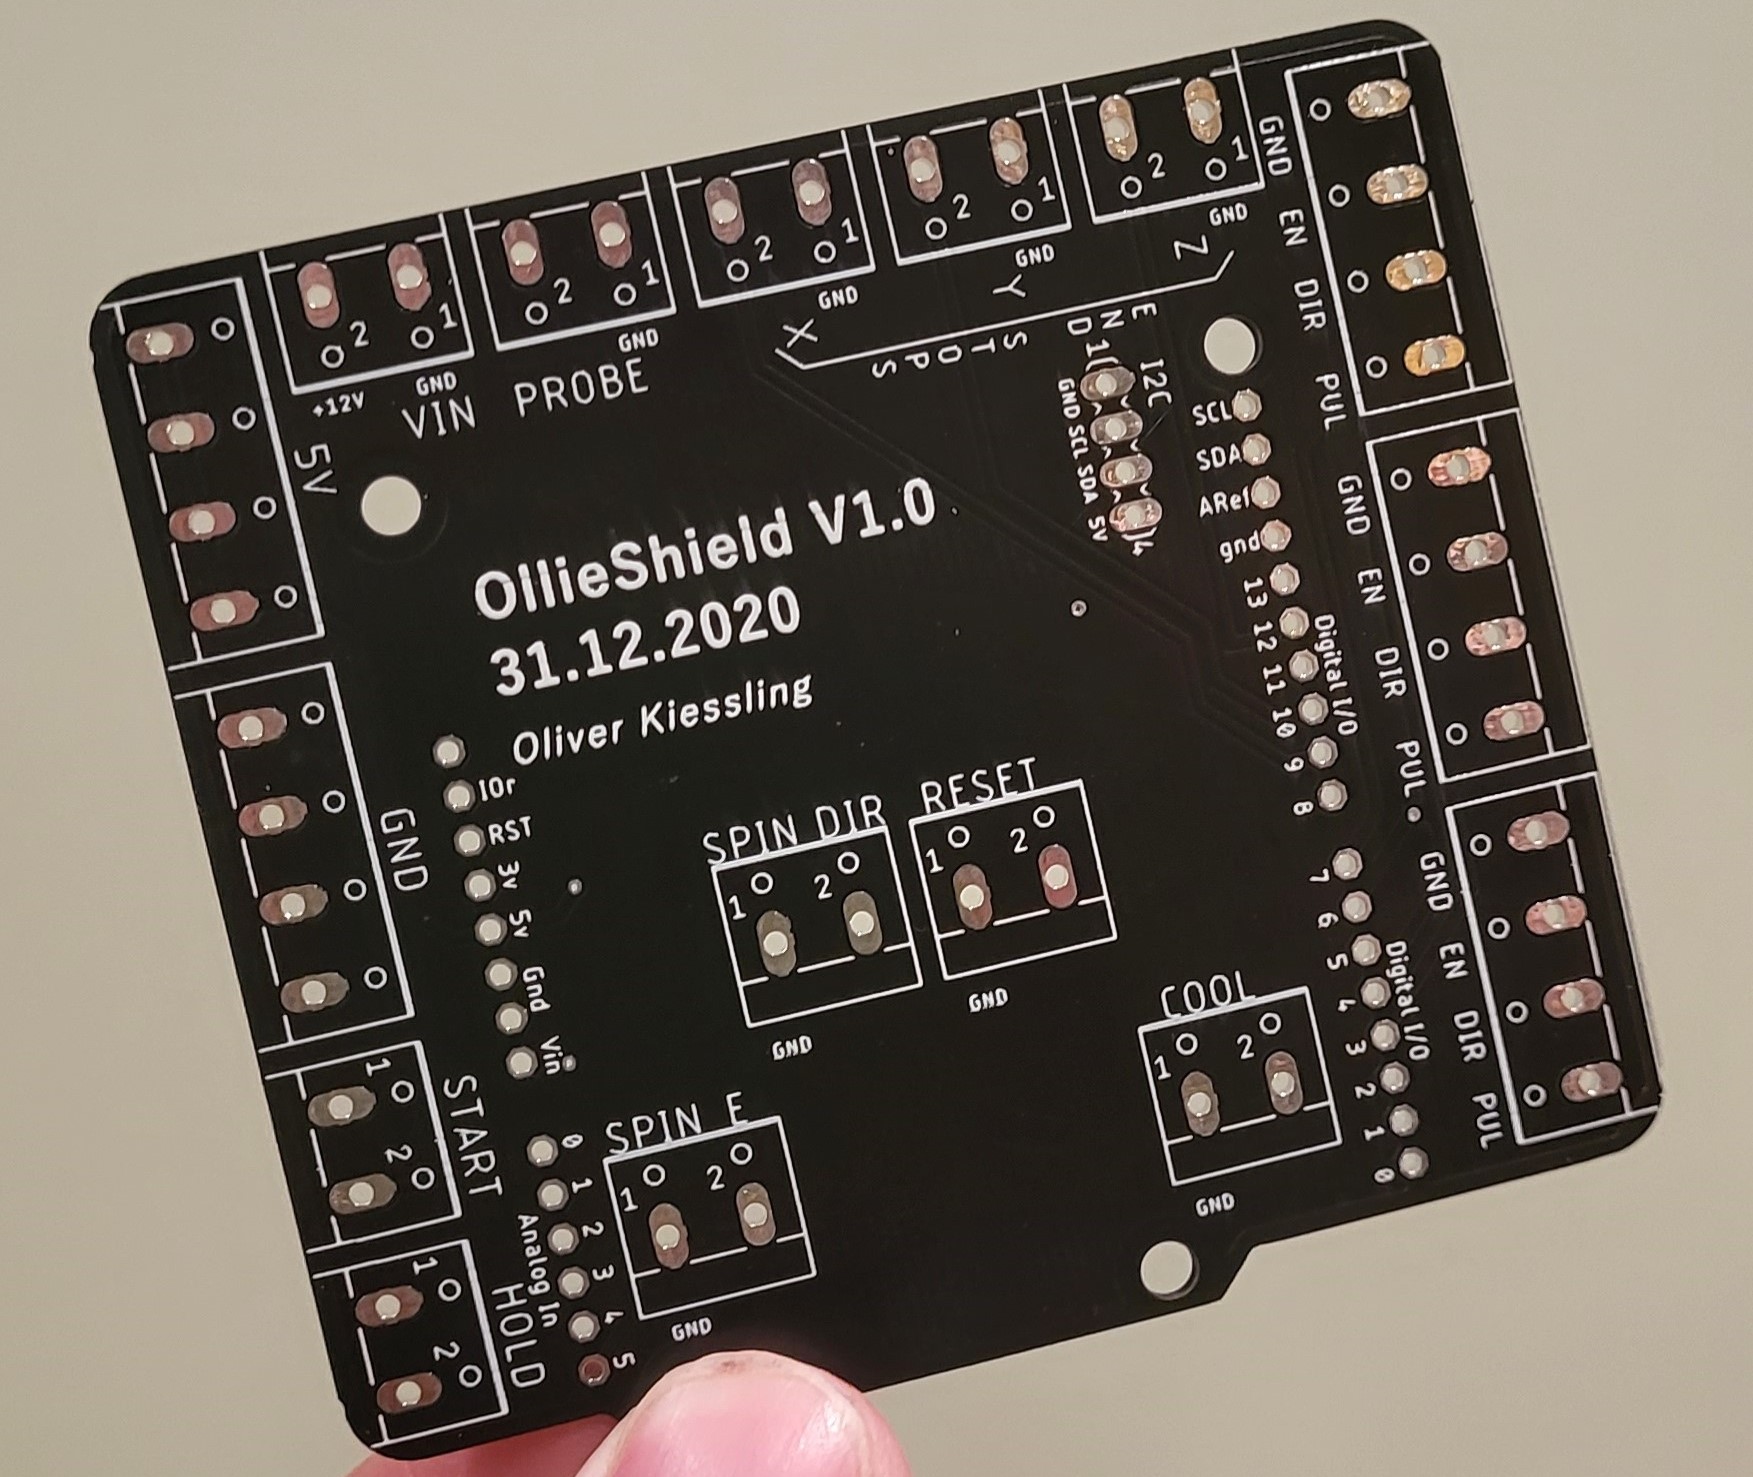
An Arduino UNO R3 was used as the brains of the CNC I designed an Arduino Shield PCB with Autodesk Eagle to greatly simplify the wiring of all stepper drivers, limit switches, cooling fans, and more. Keeping cables organized and not being pinched during motion was challenging but luckily 3D printing to the rescue again as I was able to 3D print cable chains which can be seen in the photos above.
Software
The software was fairly simple in this project as it only required installation and use of the open-source GRBL control software CNCjs. The documentation and UI are fantastic for free software. Installation required flashing the Arduino Uno R3 with GRBL and setting up soft and hard limits, homing direction, and some gcode for probing the workpiece for local origin. Being able to control the motion with the arrow keys on my laptop is awesome!
Upgrades
Some CNC’d 1/2” acrylic, PLA Plastic and magnets works like magic! Magnets allow me to quickly remove and set the tool length and workoffsets during setup and are strong enough to create a seal with the shop vaccum during operation. Chip evacuation makes a HUGE difference on surface finish and helps prevent breaking endmills.
Photo Dump
Click me!